
This is how I use fancy menu.
The Setup
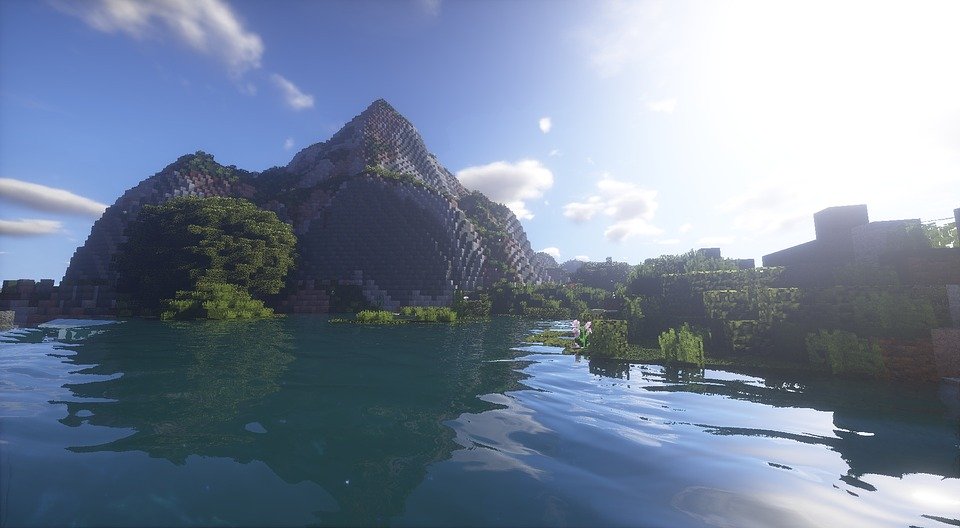
i make a folder in its config folder called “assets”, I then goto pixabay.com and find a cc-by-sa-4.0 or public domain background that I think fits my concept, I save it as “background.png” or w/e it’s extension type to that assets folder. then I goto textcraft.net and create a style I want to use for my button texts textures. Yes, I use the words themselves as the texture for the buttons. I’ll create a normal with no glow for the normal textures and and another one with either glow or a constrasting border for the hovered textures, i’ll save them by the name of their buttons for example singleplayer.png and singleplayer_hovered.png into that same assets folder again.
Should be noted that fancy menu will instantly detect new graphic assets and allow them to be used immediately without a reload, not true for animations.
By now I’ll probably have 2 textures for each button I want to redo, and a giant texture for the title, plus one for the pack ring, and another for bisect hosting, and naturally the background.
At this point, if “Fancy Menu” is not across the top, I’ll hit CTRL ALT C to bring it up. Then the following takes place.
-
- current menu->customization: on
-
- current menu->layouts (choose either a or b)
-
- ->new
-
- ->name of previous layout
-
- current menu->layouts (choose either a or b)
-
- now we’re on a page where we click on buttons and hit delete to remove them (or right click). I recommend “lang”, “accessibility”, and “realms”, the first two are on the options screen anyway, and realms? Modded doesn’t do realms.
-
- I recommend clicking the FM, and disabling all the stock stuff from Mojang, and set every scale you find to 2.0 or 2.
-
- Now that’s done, let’s set the work area to 2 as well, right-click the background and choose “gui scale” set it to 2. Note: setting all those 2’s gets rid of the need to use window restrictions to change menus based on size. Makes scaling act like “Custom Main Menu”.
-
- Alright, Alright. Right-click a button and choose “set orientation”, this is the first step for all buttons, FM won’t allow any other step to be first for them.
-
- Now, right-click the button again and do:
-
- “button texture” ⇾ “normal” and navigate to the “config” ⇾ ”fancymenu” ⇾ ”assets” and pick the texture for the button
-
- do this again for “texture” ⇾ ”hovered”
-
- edit the label and remove the text
-
- Now, right-click the button again and do:
We’re finished with that button. Let us repeat for the other buttons.
-
- Now let’s right-click the background and choose “background options”
-
- change the top entry to Background Image (you will see other options, go to the wiki for that info)
-
- Click on choose image, navigate to “fancymenu/assets” and choose the background image. If the image is inherently bigger than a standard desktop, say the image is bigger than 1600×900, choose “wide”, as that will give a sweet side to side motion to the background; instead of squishing it.
-
- The background is complete! Wow, such sweet!
-
- Now let’s right-click the background and choose “background options”
-
- For a title
-
- right click background
-
- new element->image
-
- use your mouse or arrow keys to position it approximately
-
- right click it and choose stretch->screen width
-
- For a title
-
- Let’s do a custom button next, like the one for the pack ring.
-
- Right click background
-
- new element⇾button
— a textureless button will appear in the upper right
- new element⇾button
-
- right click it and choose “set orientation”
-
- Don’t mess with its dimensions yet
-
- find the pack ring texture and find out its dimensions
-
- right-click the button and choose textures for normal and hovered.
-
- Use the sizing handles on the button to resize the button to a ratio matching the texture you chose.
— Suppose the texture’s native resolution is 800×600, naturally that will probably be too big to handle. So let’s divide both elements by 4 to get a dimension that is 1/4th size in ration. Therefore, resize it to 200 by 150. Now we can resize the button till it fits our menu. Put the mouse over a handle, and hold down shift key, now when you drag the handle both sides will stay in ratio to each other and the graphic will look nice for the button, never smashed.
- Use the sizing handles on the button to resize the button to a ratio matching the texture you chose.
-
- Right-click the button again, and choose “button action”. This option is only available for buttons you add by the way. By default, it will be on open link, that’s what we want, give the URL packring.gitlab.io/packring/ to complete this button.
-
- Let’s do a custom button next, like the one for the pack ring.
-
- We’re almost done! Do what you did for #10 above, but this time do it for the hosting banner. I recommend a partnership with Bisect Hosting. If you’re not yet signed with them, choose bisecthosting.com/kreezxil and select the partnership option on the page. But for the link, give your affiliate link.
Now we’re done. If you followed this and did not choose to be artistic in the process, it’s probably hideous, but at least now you know the how to use Fancy Menu.