


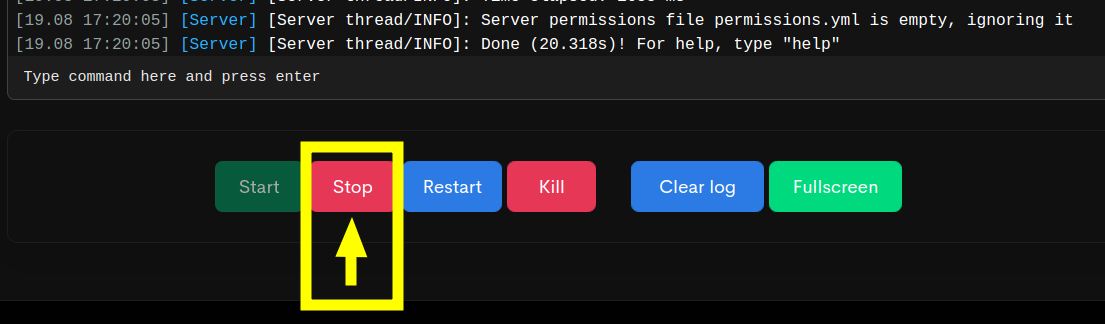
 You should have the spigot server ready to go, so you are instructed to stop it. However, if you do not have one running, we recommend you start one so that you can stop it. The reasoning is that the necessary folders and base files are already in place.
-
The following feature is really only available on Bisect Hosting. There are similar mechanisms at other hosting companies. I strongly recommend Bisect Hosting because you can get 25% off your first month’s rent using my name Kreezxil as a coupon code, and not only do I help with support there, but they have great 24/7/365 support as well.
-
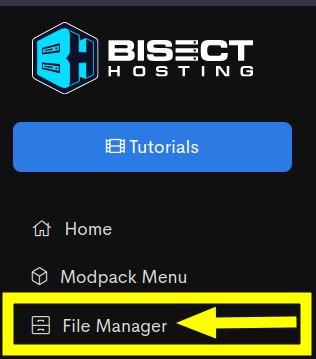
In your Multicraft Control Panel for your server, there is an entry on the menu called “File Manager”, please click on it.
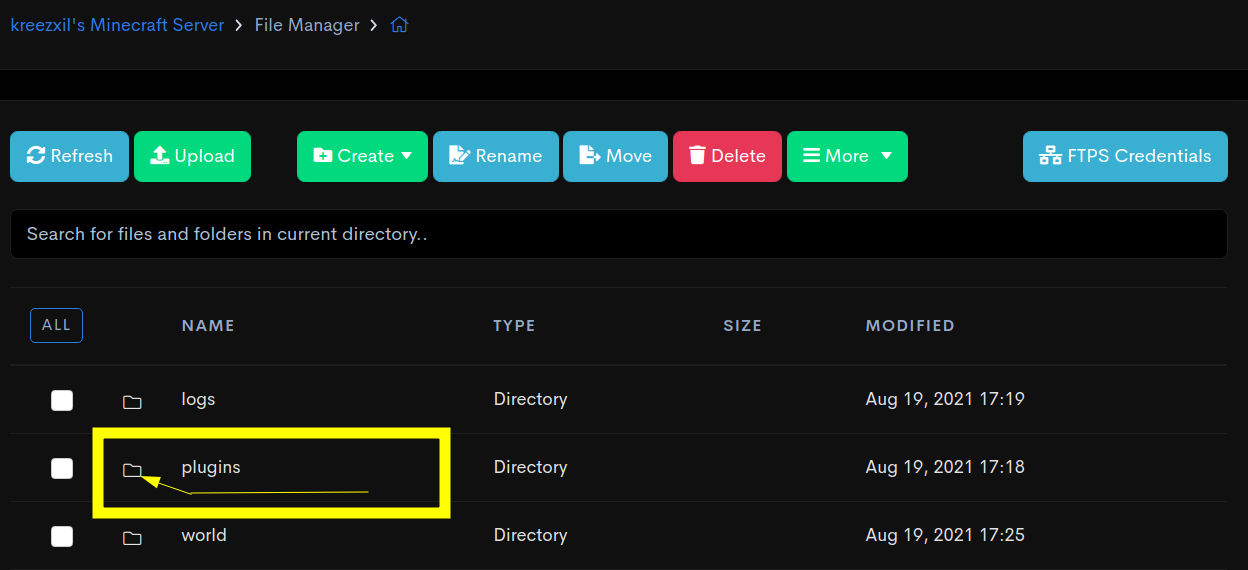
Then you will see an entry called “plugins” with a tiny folder icon next to it. Click on that folder icon now.

Click on the upload button.

Then click on the right side panel and select the jar files that you downloaded in Section 1.
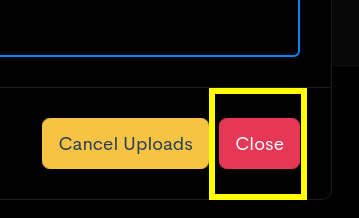
Once both are fully processed, click on “close” to return from the upload manager.
-
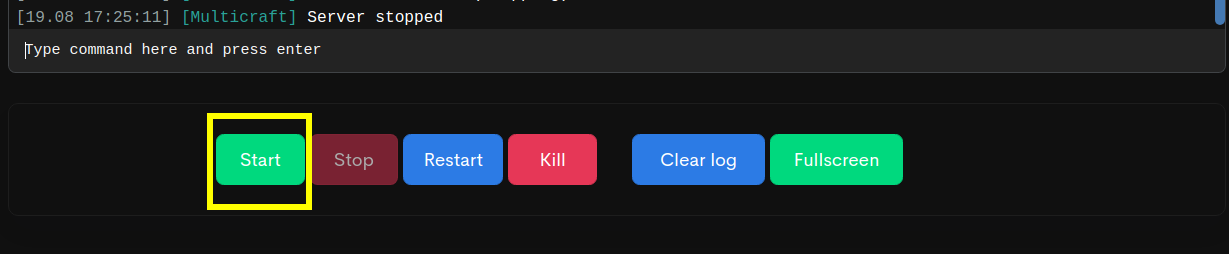
So far so good, and yes, you are almost done. Now start your server again and let it load completely. I strongly recommend you start it from the “console” so you can visually see that it has loaded, and you can also be made aware of any errors that might happen.

Once you see that is done and reporting “Done”.
Stop the server.
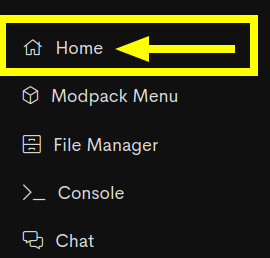
On the left side menu, click on “home” and then scroll down to where it shows your server’s IP and port.

Simply copy the part in front of the semicolon for this instructional list.
Go back to the File Manager and enter the “plugins” folder.
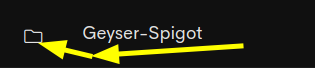
Then enter the “geyser” folder by left-clicking its folder icon.

Here you will see a “config.yml”.
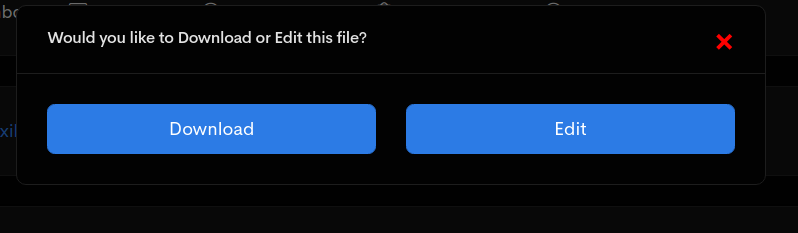
Click it and a popup will appear asking you to “download” or “edit”.
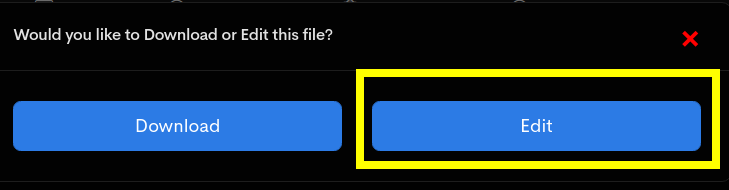
Choose the “edit” option.
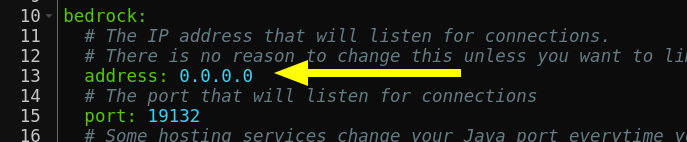
At the top of the file you’ll see an entry that says 0.0.0.0, change this to the IP of your server that you copied in Section 5.
Yes, this is not complicated at all, remember to get a server from Bisect Hosting using my name kreezxil as a coupon code for 25% off your first month’s rent at bisecthosting.com/kreezxil.

A little lower in this same file, there is “auth-type”, the comment for talks about floodgate, so you will know it’s the right one. Change it to “floodgate”.

Now save the file.
Go back to the console and start the server, once you see it is loaded, tell your X-Box and MCPE phone friends the IP address of the server that you copied in Section 5.

That’s it!
Thanks to Tmellen for the easy-to-follow list that I have now covered in pictures and littered with extra wording.