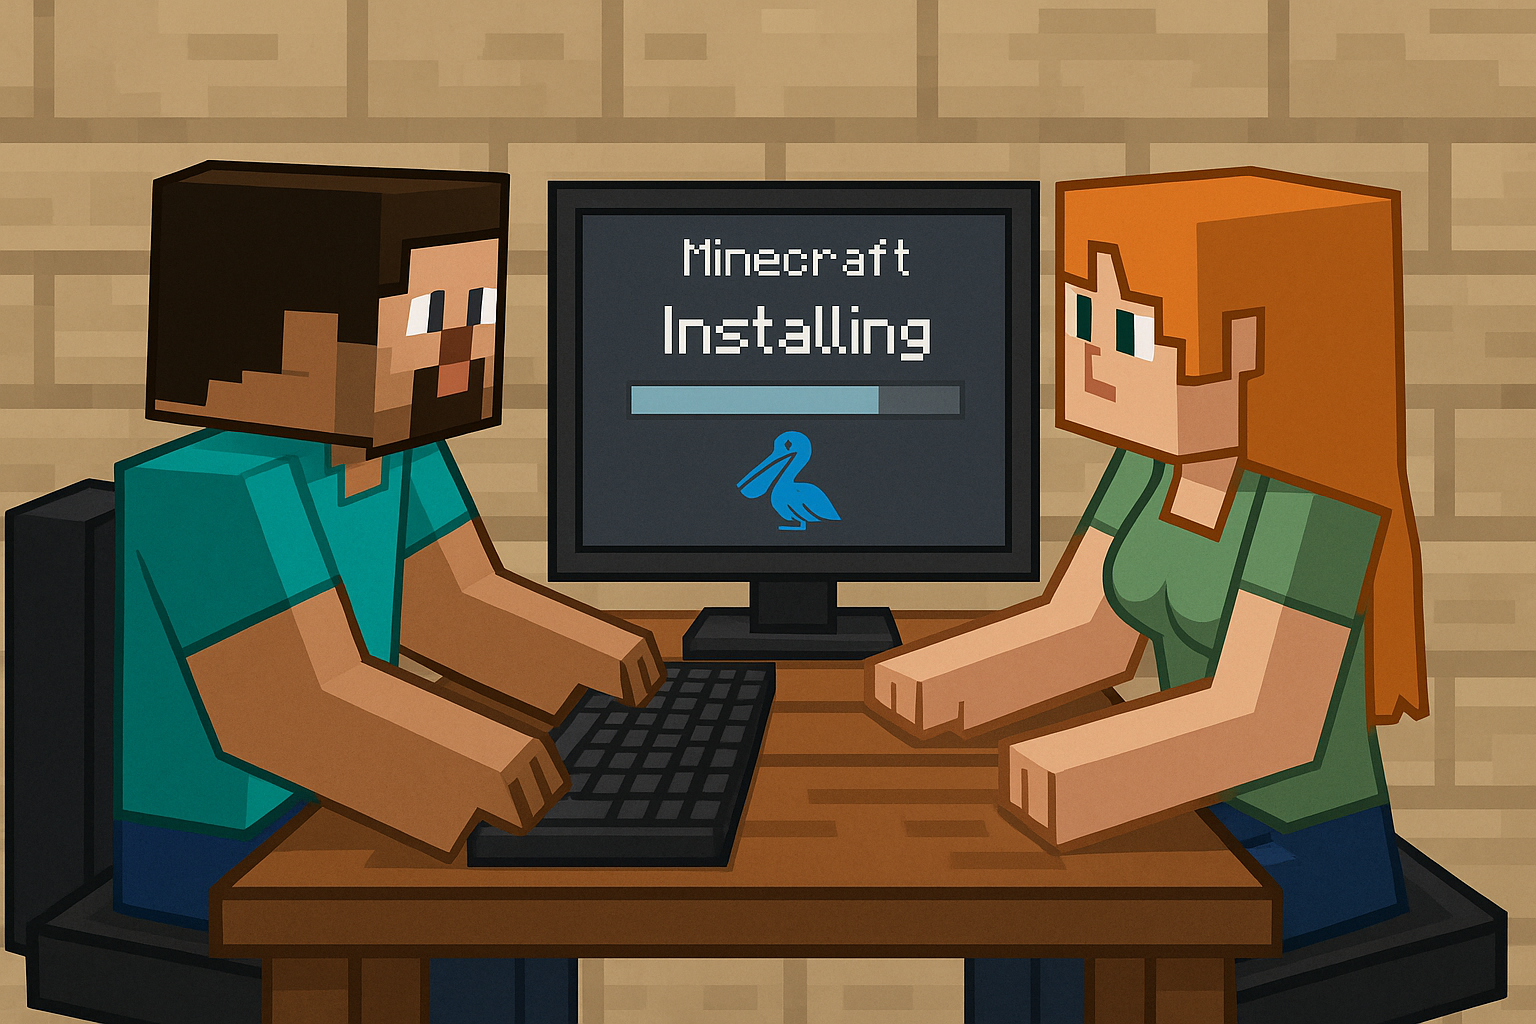
So, you want to spin up a Minecraft server on Pelican Panel and load a modpack (Forge, NeoForge, or Fabric, from version 1.7.10 up to 1.21.4)?
No worries – here’s a clear, step-by-step guide to help you do it. The process is pretty straightforward once you know where everything is. Let’s get started!
1. Creating a New Server Instance
• Log in to your Pelican Panel and click Servers → Create New. • Fill in server name, owner, and port info. Pick the node it’ll live on. • Note: If Pelican complains about the port being in use, just choose a different one. It’s normal – ports must be unique. • Choose an Egg that matches your mod loader (Forge, NeoForge, or Fabric). • Enter the correct Minecraft version and mod loader version. Some eggs accept
• Go into your server’s panel → Files. • Upload your modpack ZIP file that includes folders like mods and config. • For large files, consider using SFTP. You’ll find your login info under the server’s Settings tab. 3. Unzipping the Modpack
• Find the uploaded archive in Files. • Click the ⋯ next to the ZIP and choose Unarchive. • Let it extract. You should now see folders like mods and config. 4. Fixing File Structure
• Make sure there’s no nested folder. The extracted files should be in the main directory. • If your files landed in a subfolder, move them up one level using the file manager. • Your server.jar should already be in place based on your selected egg during setup. 5. Starting the Server
• Go to Console and hit Start. • Accept the EULA if prompted (edit eula.txt and change false to true). • Restart the server. Watch console logs for errors or mod loading issues. • When you see “Done” in the console, your server is live. Join and play! 6. Pro Tips & Final Thoughts
• Delete the ZIP after unzipping to save space. • Make backups once your server is stable. • Troubleshoot crashes by checking logs for Java version, memory, or missing files. • Help your crew learn this too — you don’t want to be tech support forever. This was built from firsthand experience, official Pelican docs, and usage of eggs from their community repo. For reference: github.com/pterodactyl/panel github.com/pterodactyl/eggs docs.pelicanpanel.dev/ Now you know the drill. Stop asking me how to spin up servers and start zipping like a champ. Boom. Play on, dude.
• Log in to your Pelican Panel and click Servers → Create New. • Fill in server name, owner, and port info. Pick the node it’ll live on. • Note: If Pelican complains about the port being in use, just choose a different one. It’s normal – ports must be unique. • Choose an Egg that matches your mod loader (Forge, NeoForge, or Fabric). • Enter the correct Minecraft version and mod loader version. Some eggs accept
latest or recommended, but you should always enter the actual version number (e.g., 47.2.0 for Forge or 0.15.6 for Fabric Loader) to avoid unpredictable behavior.
• Allocate RAM and CPU as needed. Modded servers usually need more juice.
• Verify you’re using the correct Java version: Java 8 for 1.7.10–1.12.2, Java 17+ for newer versions.
• Click Create Server. That sets up your container – now it’s time to add the rest of the files.
2. Uploading the Modpack• Go into your server’s panel → Files. • Upload your modpack ZIP file that includes folders like mods and config. • For large files, consider using SFTP. You’ll find your login info under the server’s Settings tab. 3. Unzipping the Modpack
• Find the uploaded archive in Files. • Click the ⋯ next to the ZIP and choose Unarchive. • Let it extract. You should now see folders like mods and config. 4. Fixing File Structure
• Make sure there’s no nested folder. The extracted files should be in the main directory. • If your files landed in a subfolder, move them up one level using the file manager. • Your server.jar should already be in place based on your selected egg during setup. 5. Starting the Server
• Go to Console and hit Start. • Accept the EULA if prompted (edit eula.txt and change false to true). • Restart the server. Watch console logs for errors or mod loading issues. • When you see “Done” in the console, your server is live. Join and play! 6. Pro Tips & Final Thoughts
• Delete the ZIP after unzipping to save space. • Make backups once your server is stable. • Troubleshoot crashes by checking logs for Java version, memory, or missing files. • Help your crew learn this too — you don’t want to be tech support forever. This was built from firsthand experience, official Pelican docs, and usage of eggs from their community repo. For reference: github.com/pterodactyl/panel github.com/pterodactyl/eggs docs.pelicanpanel.dev/ Now you know the drill. Stop asking me how to spin up servers and start zipping like a champ. Boom. Play on, dude.

